Cotton, linen and silk sewing - fabrics with embroidered patterns, often small ones, require special treatment. Due to the openwork "perforation", the slices are uneven, which complicates their processing.
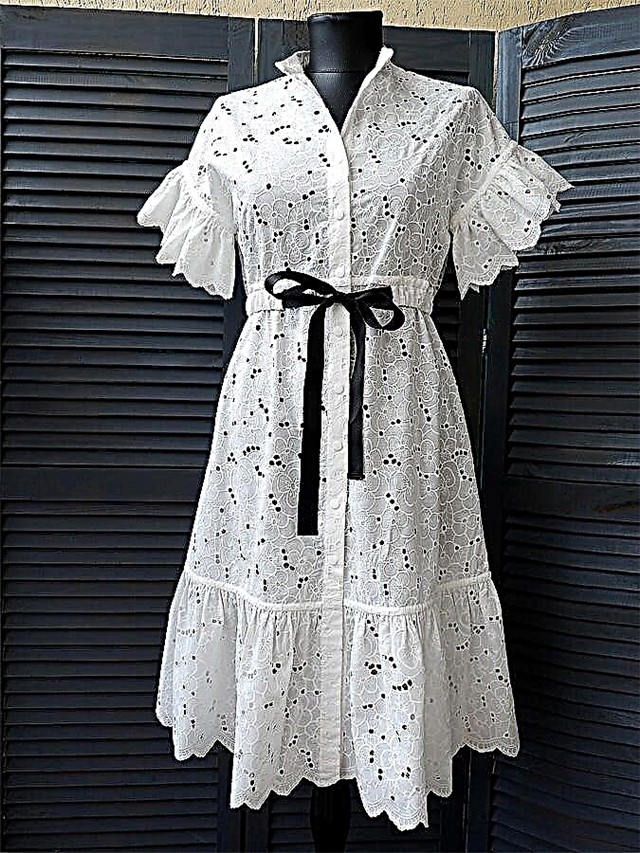
Ahead of the velvet season, and outfits of sewing and lace are still relevant. Using the model from Burda 4/2019 as an example, consider how to make a “clean” strap for fastening in a dress made of cotton sewing.
- Best-seller
- Special offer

- 1
- 2
- 3
- 4
In this master class for plank processing, I chose a plain fabric in the color of the main product (by the type of tape) so that the allowances of the plank were not visible from either the front or the wrong side.
In exactly the same way, you can process the bar in lace products.
You will need:
- plain fabric in the color of the fabric of the main product (preferably cotton), the length of the flap along the share is equal to the length of the strap + 1 cm;
- ruler;
- tailor pins;
- tailor's scissors;
- needle and thread for sewing
Step 1
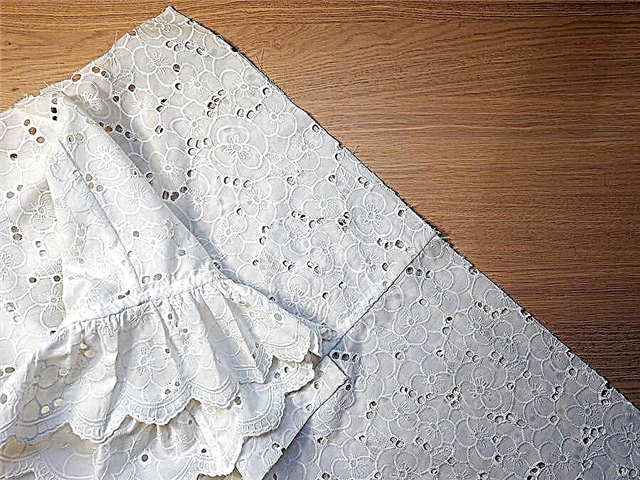
Prepare the details of the product on which the bar will be made.
The bodice, skirt and frill are stitched in my product, the seams are processed. The neck of the product will be processed after the bar.
Step 2

When cutting parts, it is necessary to add 1.5 widths of the strip to the midline of the front (as a result we get 2 widths of the strip, see photo).
The width of the plank in my product is 2.5 cm, so I put aside 1.25 cm and another 2.5 cm from the midline of the front.
Step 3
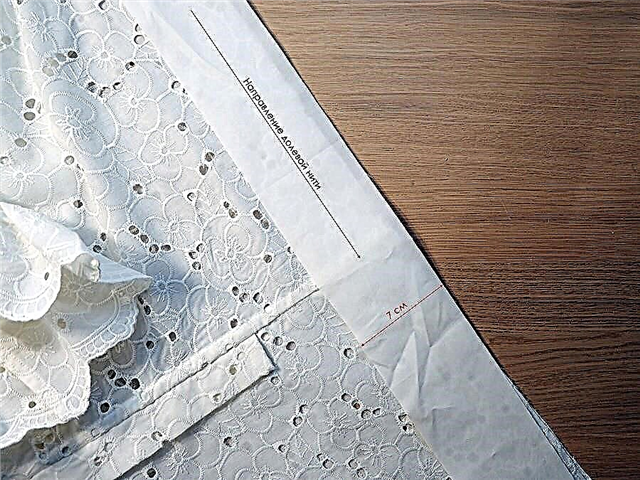
From a plain fabric, cut two strips (one for each plank) with a width equal to 2 plank widths + 2 cm for allowances.
In my product, the width of the strips is 1 cm + 2.5 cm + 2.5 cm + 1 cm = 7 cm.
When cutting strips for processing strips, it is necessary to take into account the direction of the shared thread: it should be parallel to long sections.
If necessary, the strips can be duplicated using adhesive doubler. I did not duplicate, because the fabric from which the stripes were cut is rather dense.
Step 4
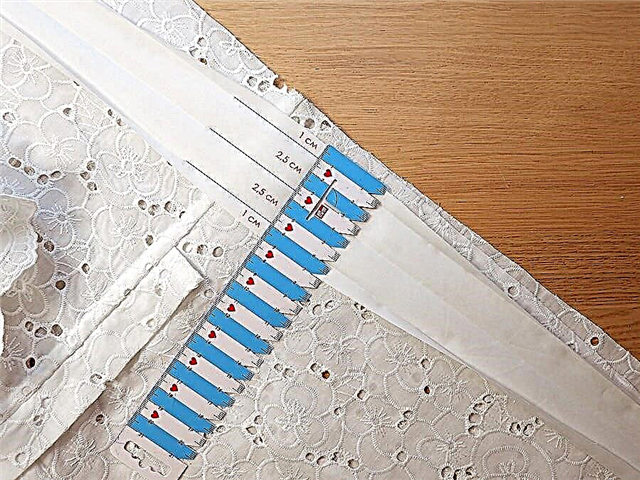
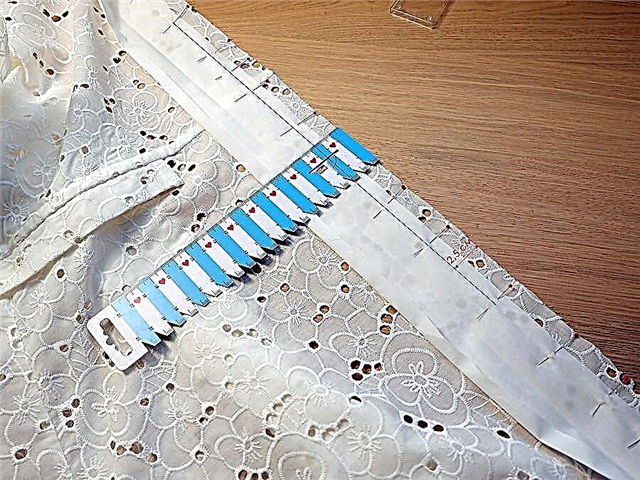
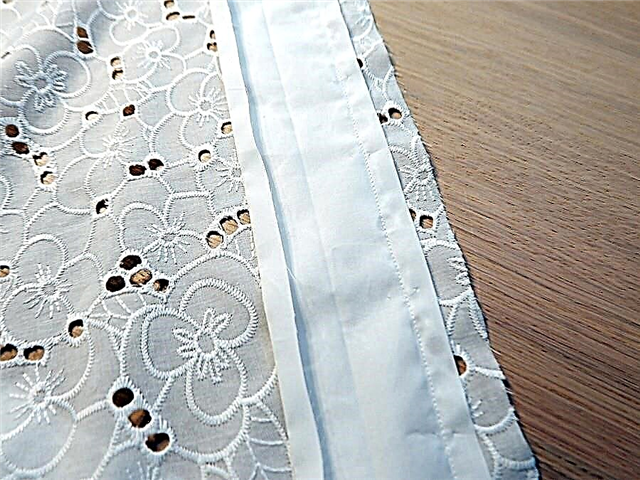
Iron the strip according to the type of oblique inlay: iron on the wrong side 1 cm along the long sections, and then iron the strip in half (see photo).
In order to iron the strip evenly, you can use a sheet of thin cardboard with the marked out markings, or apply markings with the aid of a disappearing marker, and you can also lay out the marks with hand stitches.
Step 5
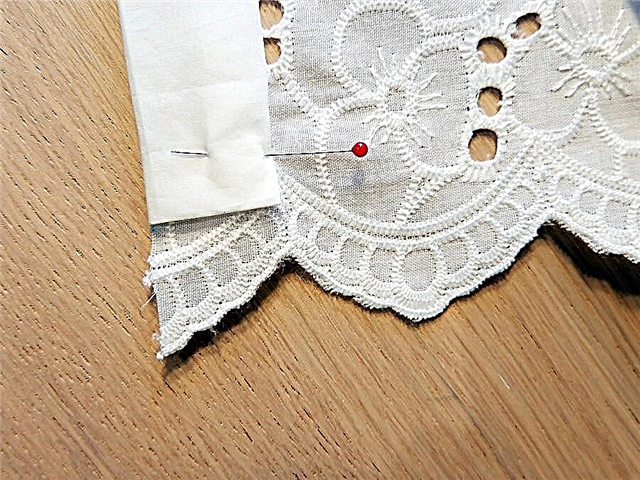
Place a strip on the part of the product with the front side to the front side so that the first fold of the strip is located at a distance equal to one width of the strip (2.5 cm) from the cut of the shelf part.
Lock the strip with tailor pins or sweep.
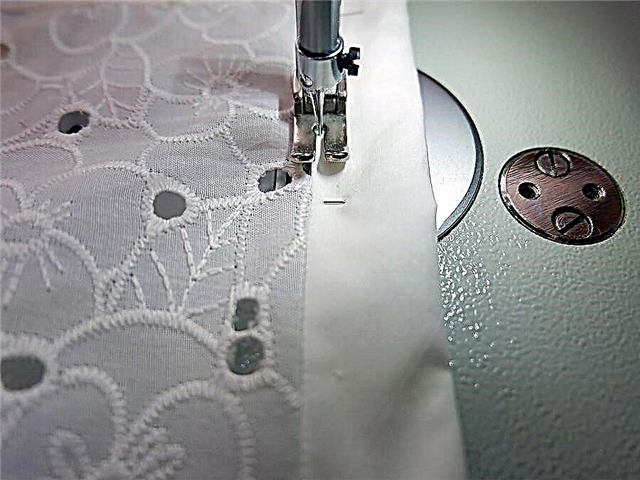
Step 6
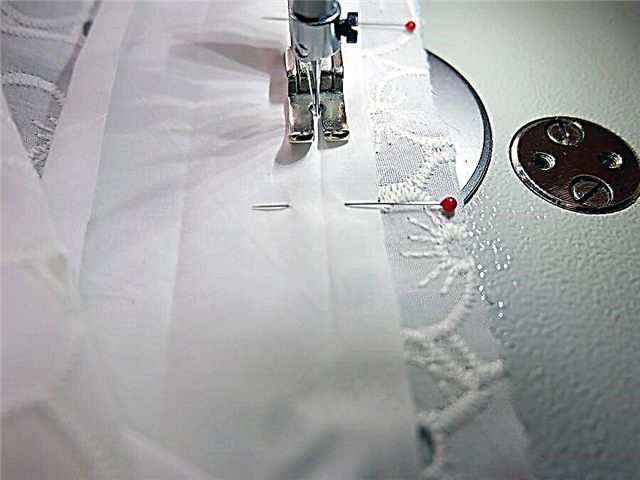
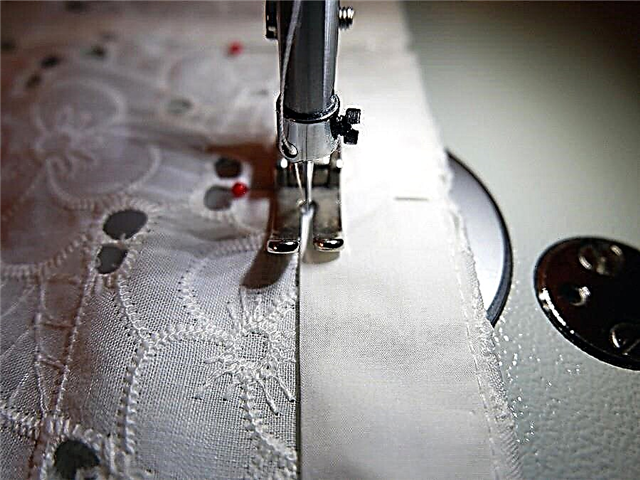
Sew a strip on a shelf, laying the line exactly along the fold of the strip.
Step 7
At the bottom of the plank, finish the line before reaching the end of the 1 cm strip. Tighten.
Step 8
Iron the seam.
At this stage, you can cut the allowance of the plank to a width of 1 cm. I decided to leave the original width of the allowance, this will give additional density to the plank.
Step 9
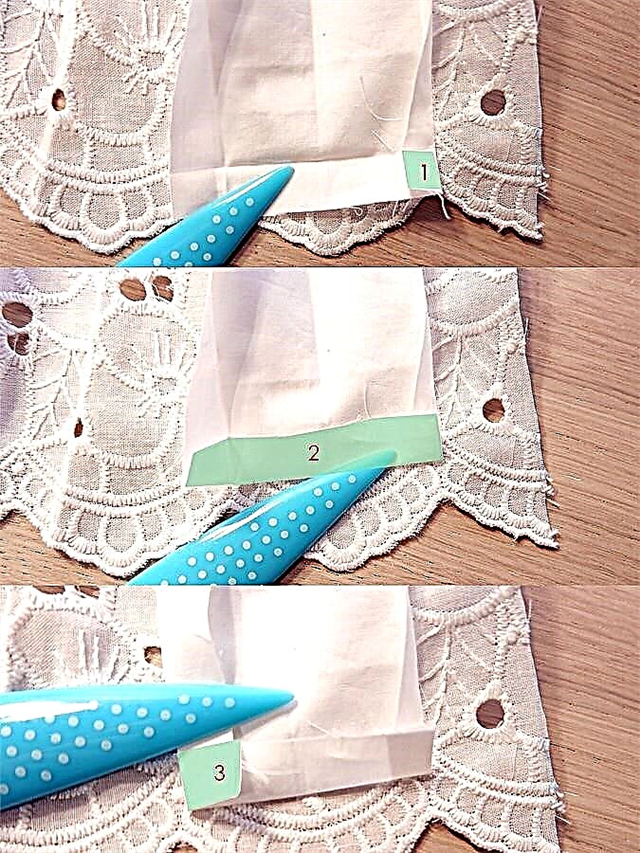
Prepare for processing a short cut of the strip from the bottom. To do this, iron the allowances in the order indicated in the photo: first iron on the strip the allowance located at the line, then iron the lower allowance on the strip, then iron the open longitudinal section.
Step 10
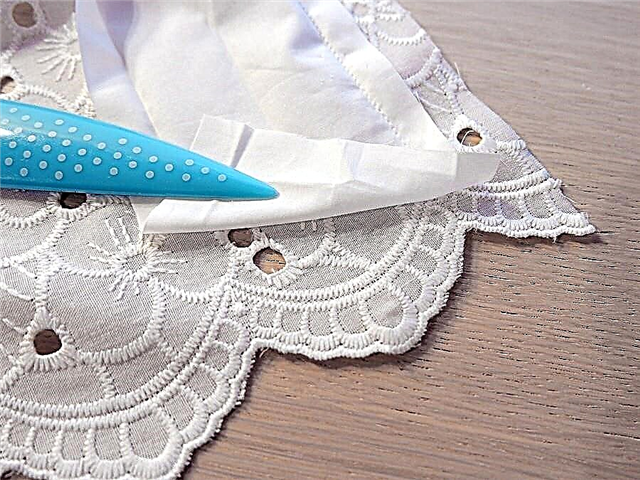
Unscrew the strip on the stock allowance, iron.After that, go around the strip with the stock allowance on the principle of an oblique inlay and fix it in this position with pins or sweep.
Step 11
From below, all sections of the strip are closed.
Step 12
From the front side of the strip, lay a line at a distance of 1-2 mm from the seam, capturing all layers of the strip from the front and from the wrong side. The stitch length is approximately 3 mm.
Step 13
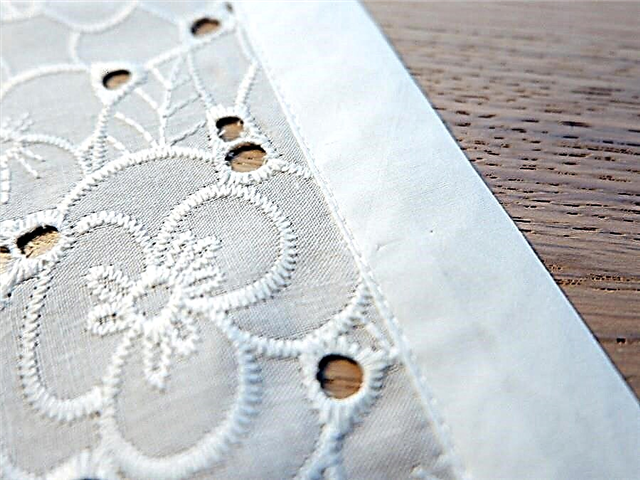
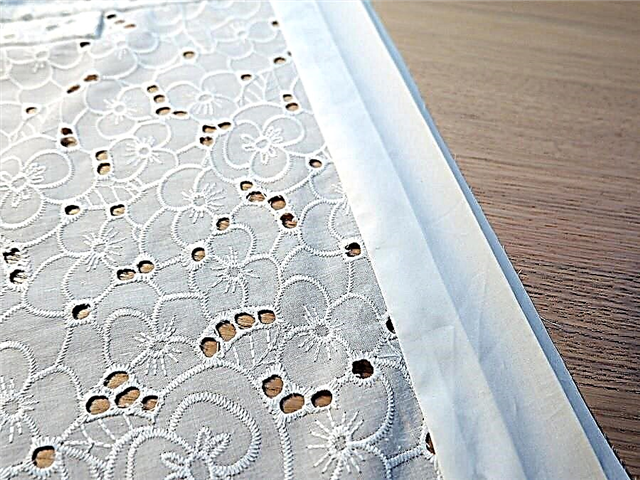
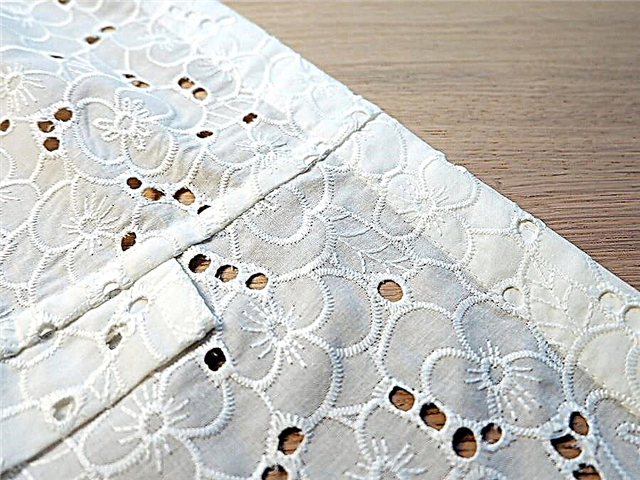
Here's what happened: the edge of the plank is treated with a wide trim (its width in the finished form should be 2.5 cm).
Step 14
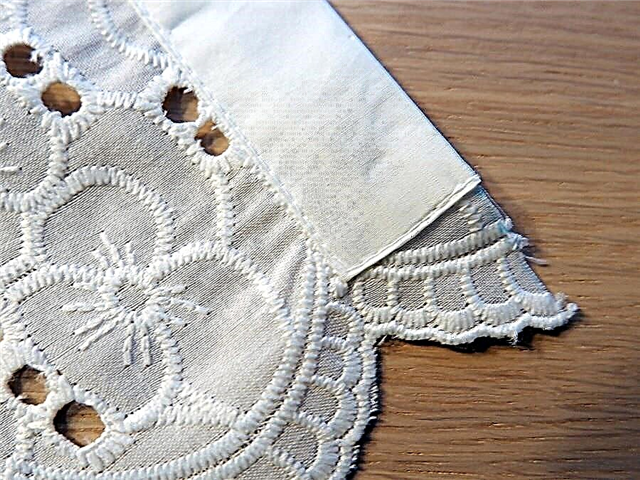
The short edge of the inlay from the bottom is also sewn into the stock.
Below the inlay there remains a small section of the stock allowance with an open cut.
Step 15
Unscrew the tape on the wrong side of the product, forming a small transitional edging with a width of 1-2 mm. Secure with pins or sweep, iron.
Step 16
From the wrong side, lay the stitch to the edge along the edge (at a distance of about 1 mm from the edge). The stitch length is approximately 3 mm.
Carefully hem the bottom (open) allowance of the plank remaining with an open cut by hand or sew on the placket.
Step 17
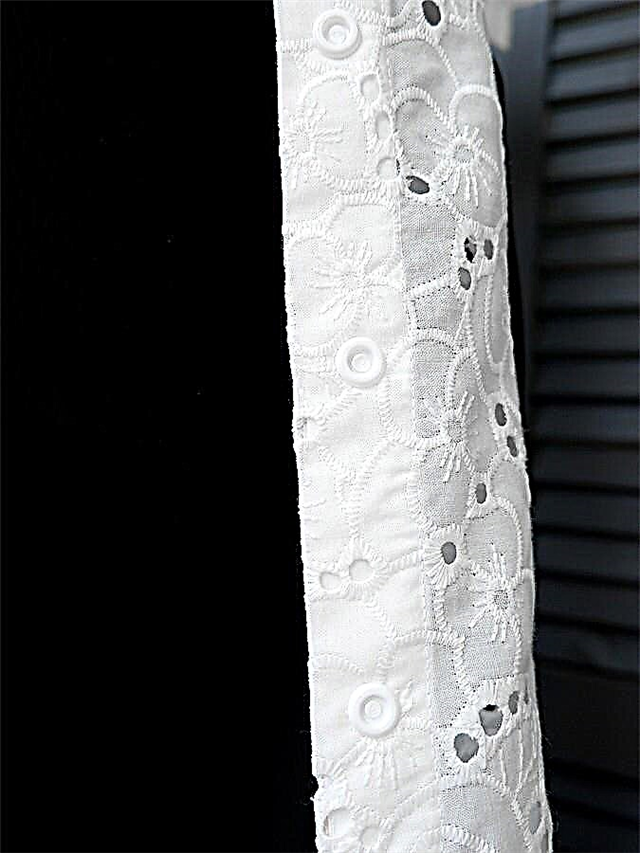
The bar is ready. Similarly, the bar is executed on another shelf of the product.
Now on the planks, you can markup and install buttons or process loops and sew buttons.
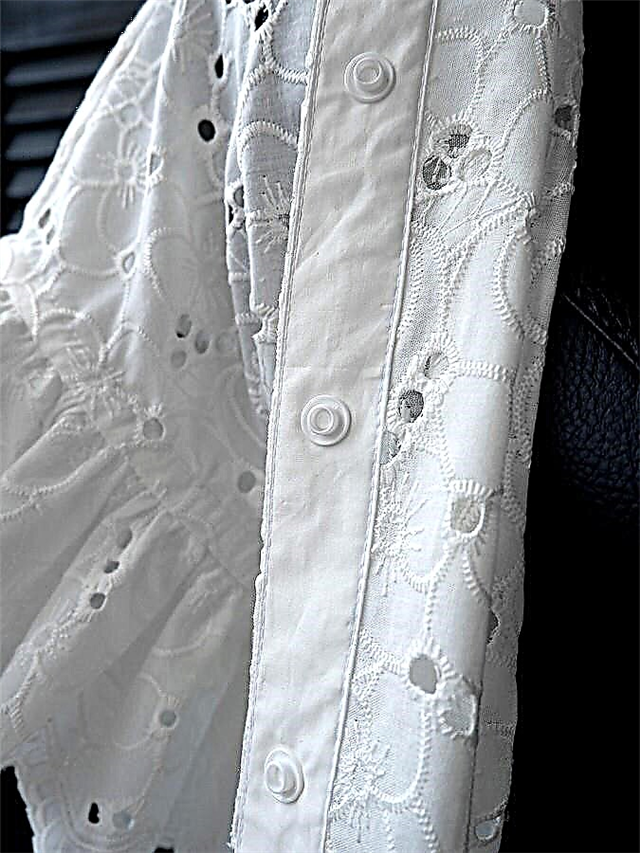
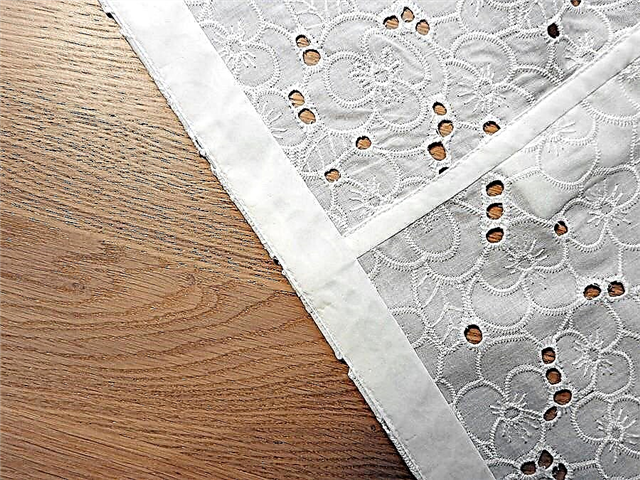
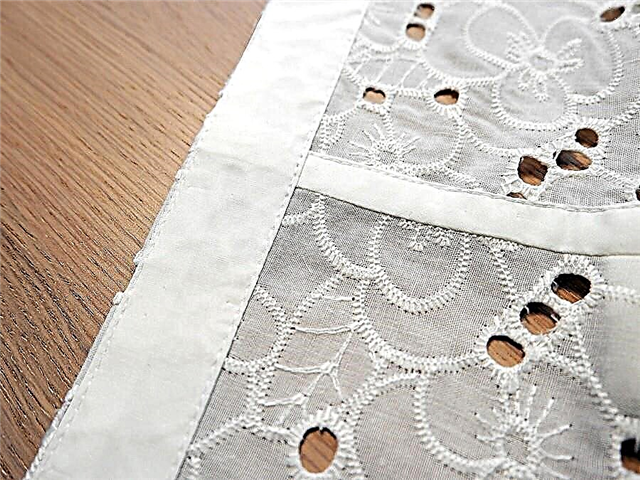
With this method of processing, the allowances of the plank and the finishing fabric are hidden between the layers of the inlay, and they are not visible from either the front or the wrong side, even considering the presence of large holes in the texture of the fabric.
This is how the processing of the bottom of the bar looks from the wrong side.
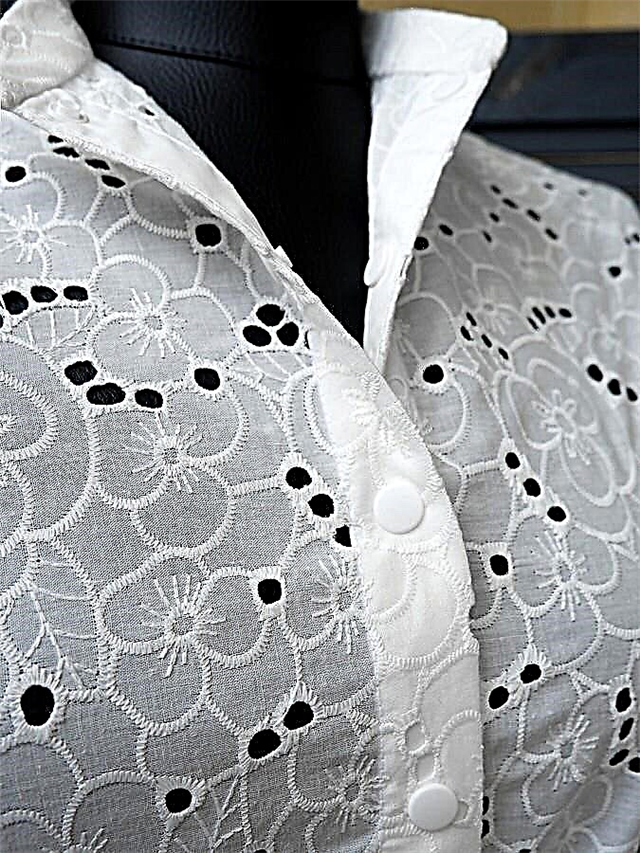
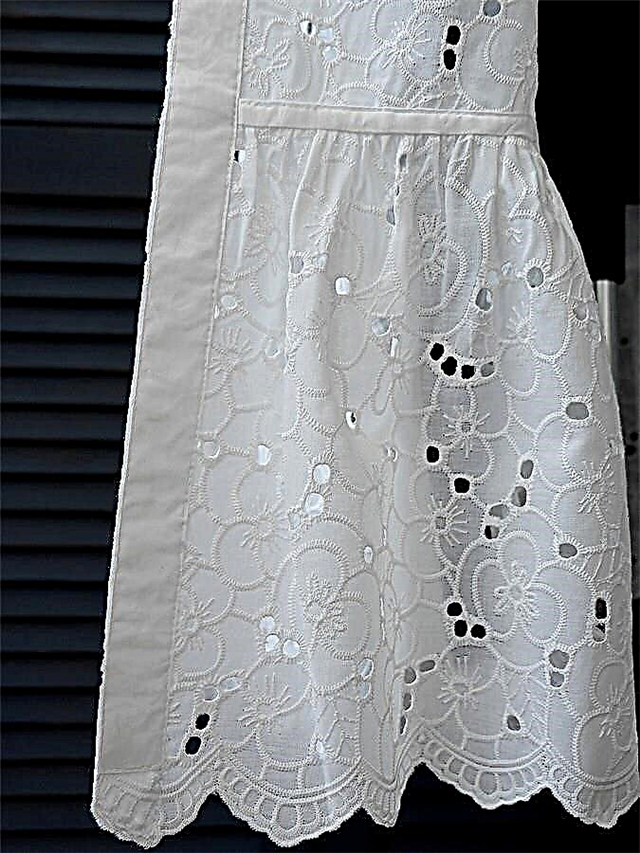
This is how the bar looks in the finished product.
The author of the master class and photo: Daria Tabatchikova

By education, Daria is a PR specialist and economist, but several years ago she devoted herself entirely to her favorite business - sewing.
She learned to sew from magazines, books and using the Internet, there are also sewing courses in the arsenal, but Daria considers herself to be self-taught. She loves to study specialized sewing literature from different years and countries, and then put her knowledge into practice.
At the end of 2017, Daria became the winner of the festive contest from BurdaStyle.ru.
She leads her Instagram page and VKontakte group.
Material prepared by Julia Dekanova